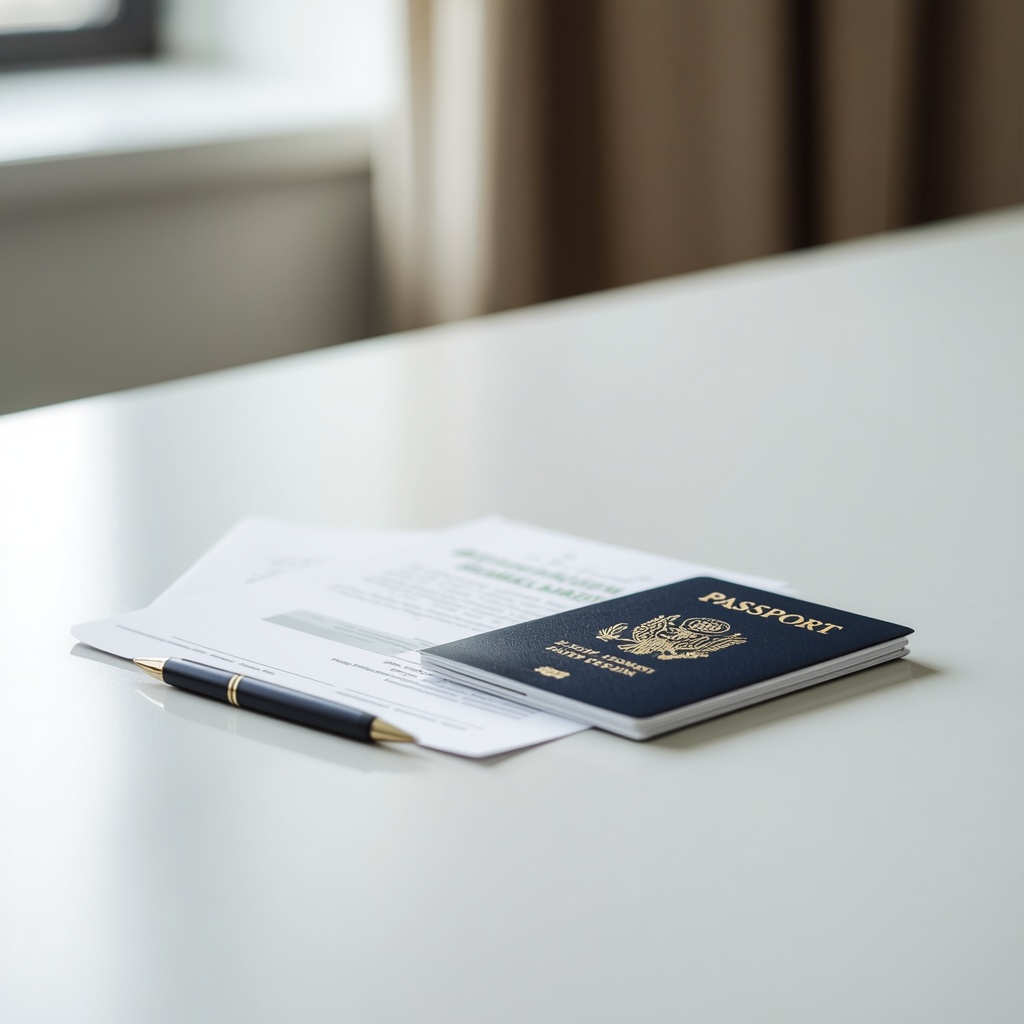
Most people asking this question aren’t doing so out of curiosity. They have just received a request from a government agency, a foreign consulate, an insurance company, or a legal institution… and the form says “statutory declaration required.” Now they need to figure out what that means and what to do next.
The process is more manageable than it looks. A statutory declaration follows a clear structure, the signing appointment is straightforward, and a notary public can guide you through the parts that feel unfamiliar.
This article walks through the entire process from start to finish, so you know exactly what to expect at every step. Keep up with us.
How do I complete a statutory declaration? Start here
Before drafting a single word, there are a few things worth confirming.
First, identify who is requesting the declaration and what they specifically need. Some agencies and institutions provide their own statutory declaration template with prescribed language. Others expect you to draft the document yourself, but give you a list of required facts to include.
Either way, the requesting authority’s instructions take precedence over any general guidance, including this article. Read them carefully before you begin.
Second, confirm whether a notary public is required or whether another type of authorized witness will suffice. For domestic administrative matters, a commissioner of oaths or a justice of the peace may be acceptable. For declarations headed to a federal agency or a foreign government, a notary public is almost always required.
If the document will be used internationally, also check whether an apostille will be needed on top of the notarization – that is a separate step, and knowing about it early saves time later.
Once you have confirmed the format, the witness requirements, and the intended destination, drafting the declaration itself is straightforward.
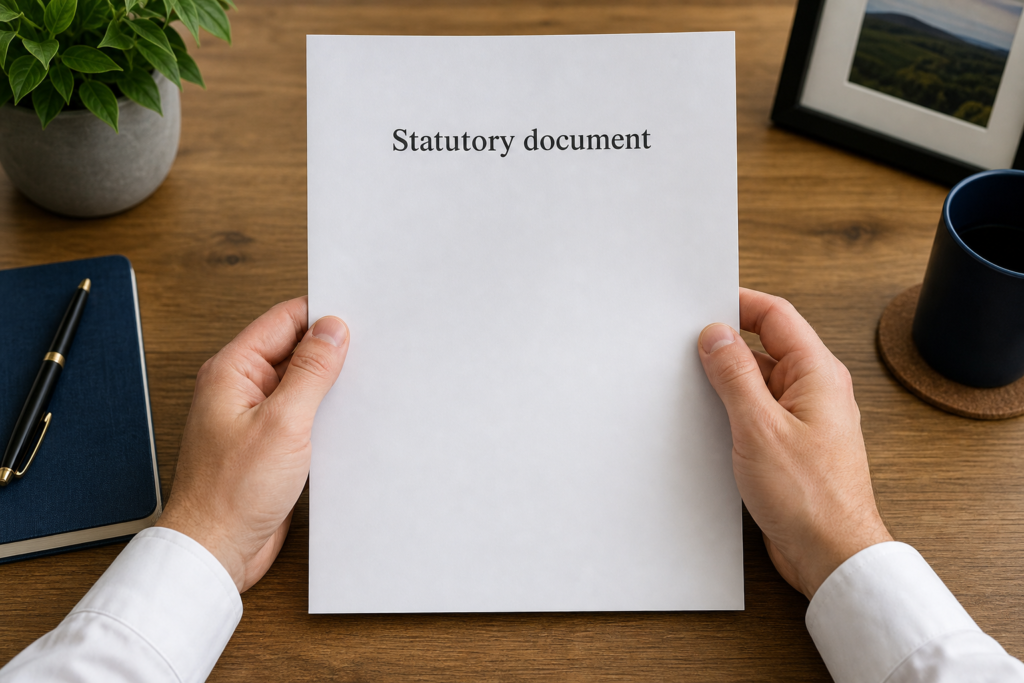
Drafting your statutory declaration
This document has four components, and they always appear in the same order.

The opening clause identifies the declarant. This is where you write your full legal name, your current address, and your occupation. Keep it factual and precise – this information establishes who is making the declaration and must match your government-issued ID.
The body of the declaration is where the actual facts are stated. Write in plain first-person language: “I declare that…” or “I confirm that…” Each statement must be something you have direct personal knowledge of – no hearsay, no assumptions. If you are declaring that a document is a true copy of an original, say so explicitly.
If you are confirming a name change, state your previous name, your current legal name, and the reason for the change. Include everything the requesting authority has asked for, and nothing that is not relevant.
The solemn affirmation clause comes next. This is the standard closing language that precedes your signature – something along the lines of “I solemnly and sincerely declare that the above information is true and correct to the best of my knowledge and belief, and I make this declaration conscientiously believing it to be true.“
Many institutions prescribe this language exactly, so use their version if one is provided. Do not paraphrase or improvise this clause, as departing from the required wording could invalidate the document.
The signature block comes last, and this is where first-timers might make a mistake. Do not sign the document before your appointment! The entire point of the signing appointment is that the notary witnesses your signature in real time. A pre-signed statutory declaration cannot be notarized and will need to be reprinted.
The witness block (where the notary records their credentials and applies their seal) is completed by the notary at the appointment, so leave it blank.
Gather your supporting documents
Once the declaration is drafted and ready to sign, gather everything you need to bring to the appointment. At a minimum, you will need a valid, government-issued photo ID. The notary is required to verify your identity before witnessing any signature, and they cannot proceed without it.
Depending on the purpose of your declaration, you may also need supporting paperwork. A name change declaration may require a marriage certificate or court order. A declaration related to a property matter may require a deed or title document. A declaration supporting an immigration application may require birth certificates or other identity documents.

Check the requesting authority’s instructions. And bringing everything in one visit is always better than scheduling a second appointment!
The signing appointment: what actually happens
For anyone who has never done this before, the appointment is usually less formal than expected. Here is what typically happens:
The notary reviews the document to confirm it is complete and unsigned. They then verify your identity by examining your photo ID. If everything checks out, they will ask you to read through the declaration (or read it to you) to confirm the content is accurate and that you understand what you are affirming.
The notary then administers the solemn affirmation. This is a brief verbal confirmation in which you affirm that the contents of the declaration are true to the best of your knowledge. You then sign the document in the notary’s presence. The notary completes the witness block, signs it themselves, and applies their official seal.
The whole appointment typically takes between 15 and 20 minutes when the document is properly prepared – it’s pretty quick!
Pro tip: a mobile notary can handle this at your home or wherever is most convenient, which matters more than people expect when the declaration is coming up in the middle of an already demanding process.
After the signing appointment: what comes next

Submit the notarized declaration to the requesting authority promptly, and keep a copy for your own records before it leaves your hands. If the institution has provided a reference number or a submission portal, follow their process exactly.
If the declaration is headed to a country that is part of the Hague Apostille Convention, you will need to take the notarized document to the Florida Secretary of State’s office for apostille authentication before submitting it.
The apostille certifies the notary’s credentials for international recognition – it does not change the content of the declaration itself. This step is often time-sensitive, so factor it into your timeline.
If the document is rejected or needs to be amended, contact the requesting authority first to understand exactly what needs to change.
Frequently asked questions about statutory declarations
What if I make a mistake in the declaration after it has been notarized? Do not attempt to correct it yourself. Contact the requesting authority to confirm what is needed, then work with your notary to prepare a corrected version. A new signing appointment will be required.
Can I use a template I found online for my statutory declaration? You can use one as a starting point, but always cross-reference it against the requesting authority’s instructions. If they have prescribed specific terms, they take priority over any generic template.
Does every statutory declaration need to be notarized, or are there other options? Not always! For some domestic administrative purposes, a commissioner of oaths or a justice of the peace is sufficient. However, when the declaration is going to a federal agency or a foreign government, a notary public is typically required.

When in doubt, confirm with the requesting authority before your appointment!
So, how do I complete a statutory declaration?
If you were not sure where to begin, you now know the answer is simpler than the paperwork makes it seem. Draft it carefully, bring the right documents, and let an experienced notary walk you through the signing.
We at Mobile Notary Orlando are available 24/7, serving clients throughout Orange, Seminole, Brevard, and Osceola counties, with all sorts of notarizations. Book your appointment today and come prepared. We’ll make sure the rest goes smoothly!